• Skip to primary navigation
  • Skip to main content
  • Skip to primary sidebar

My New England Seoul

  • About
    • About
  • Adoption
    • Growing up white….kinda
    • My Birth Family Search
      • Home
  • Lifestyle
  • Farmhouse
You are here: Home / Home

10 Reasons We are Converting an Old Shed into a Tiny Home

September 16, 2021 by Christina

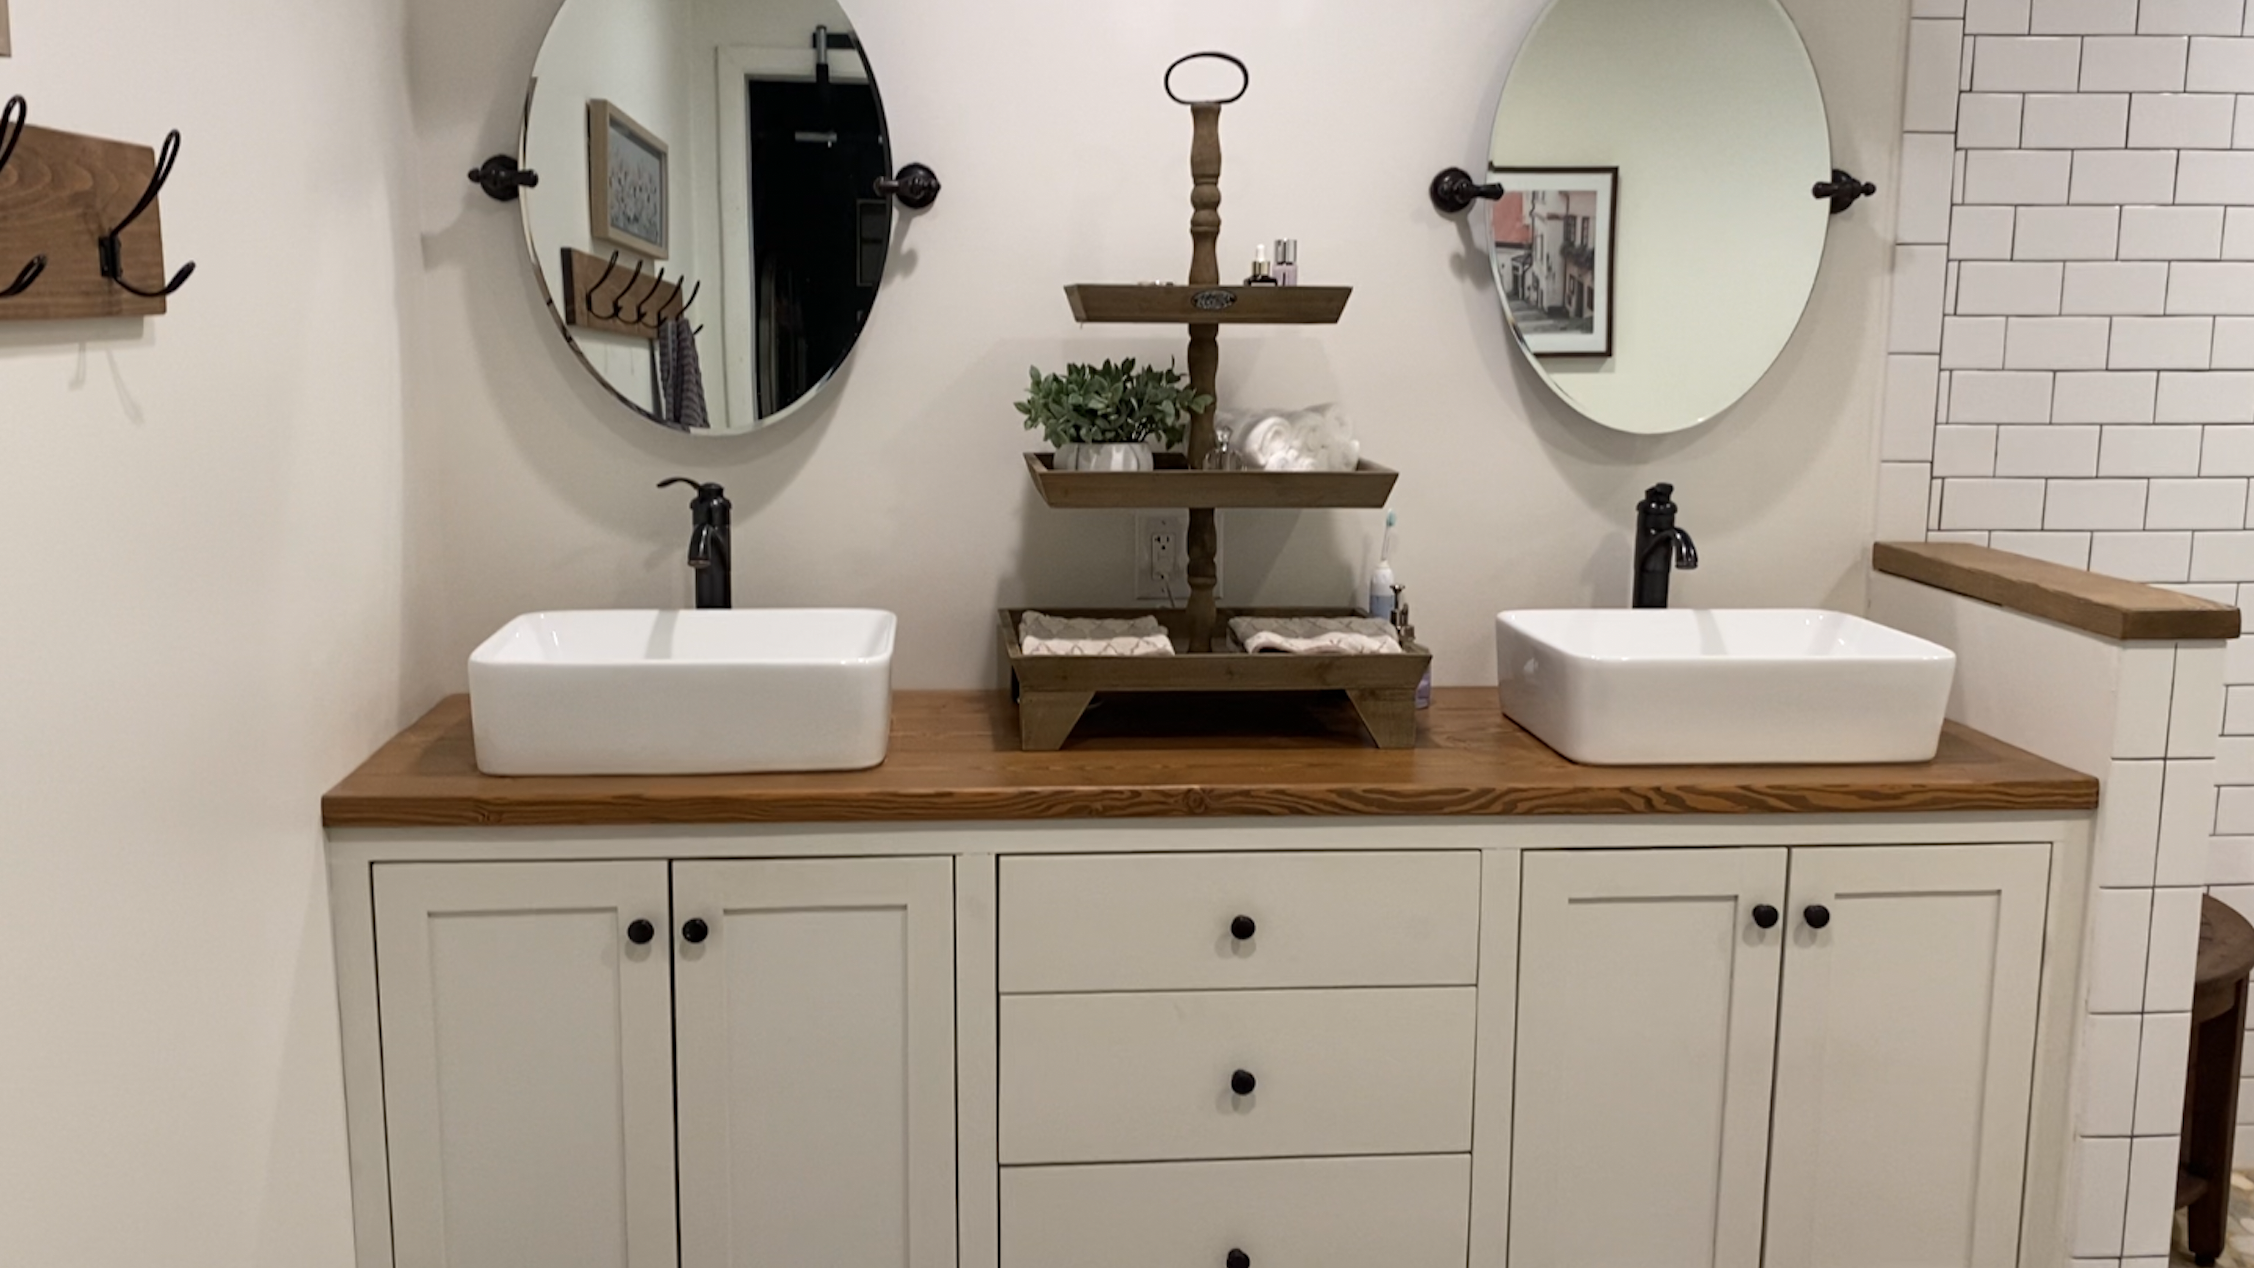
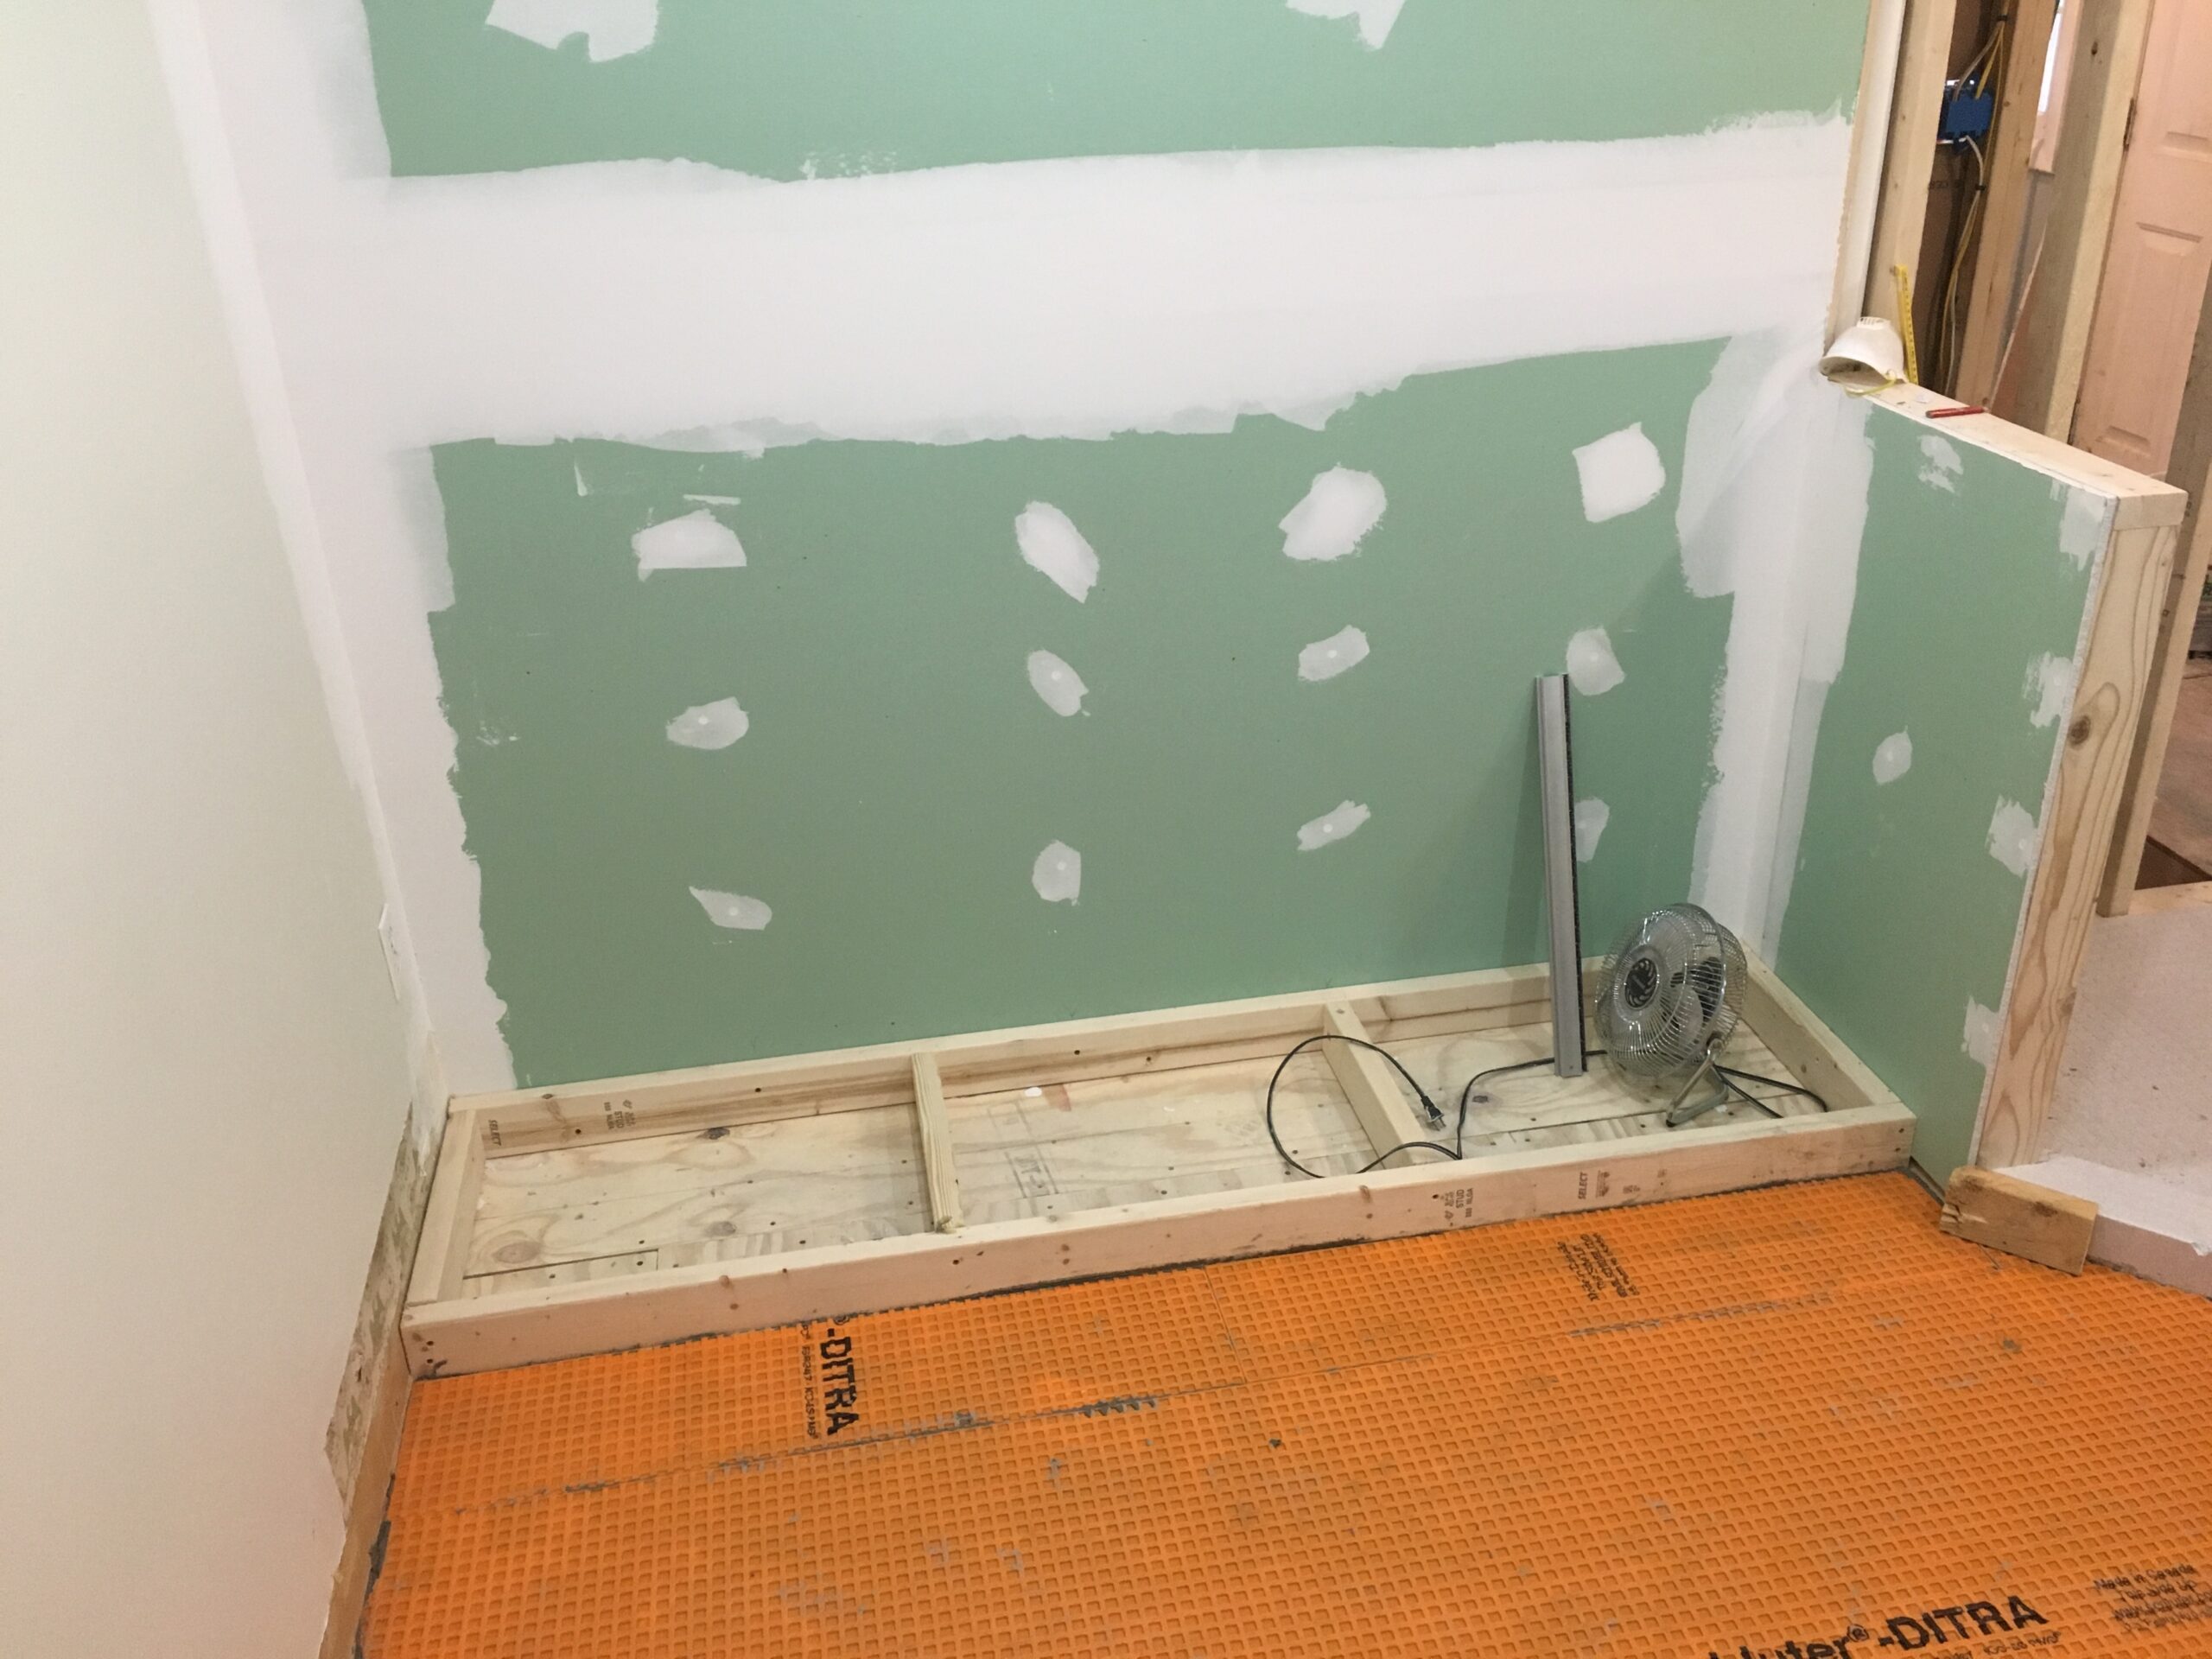
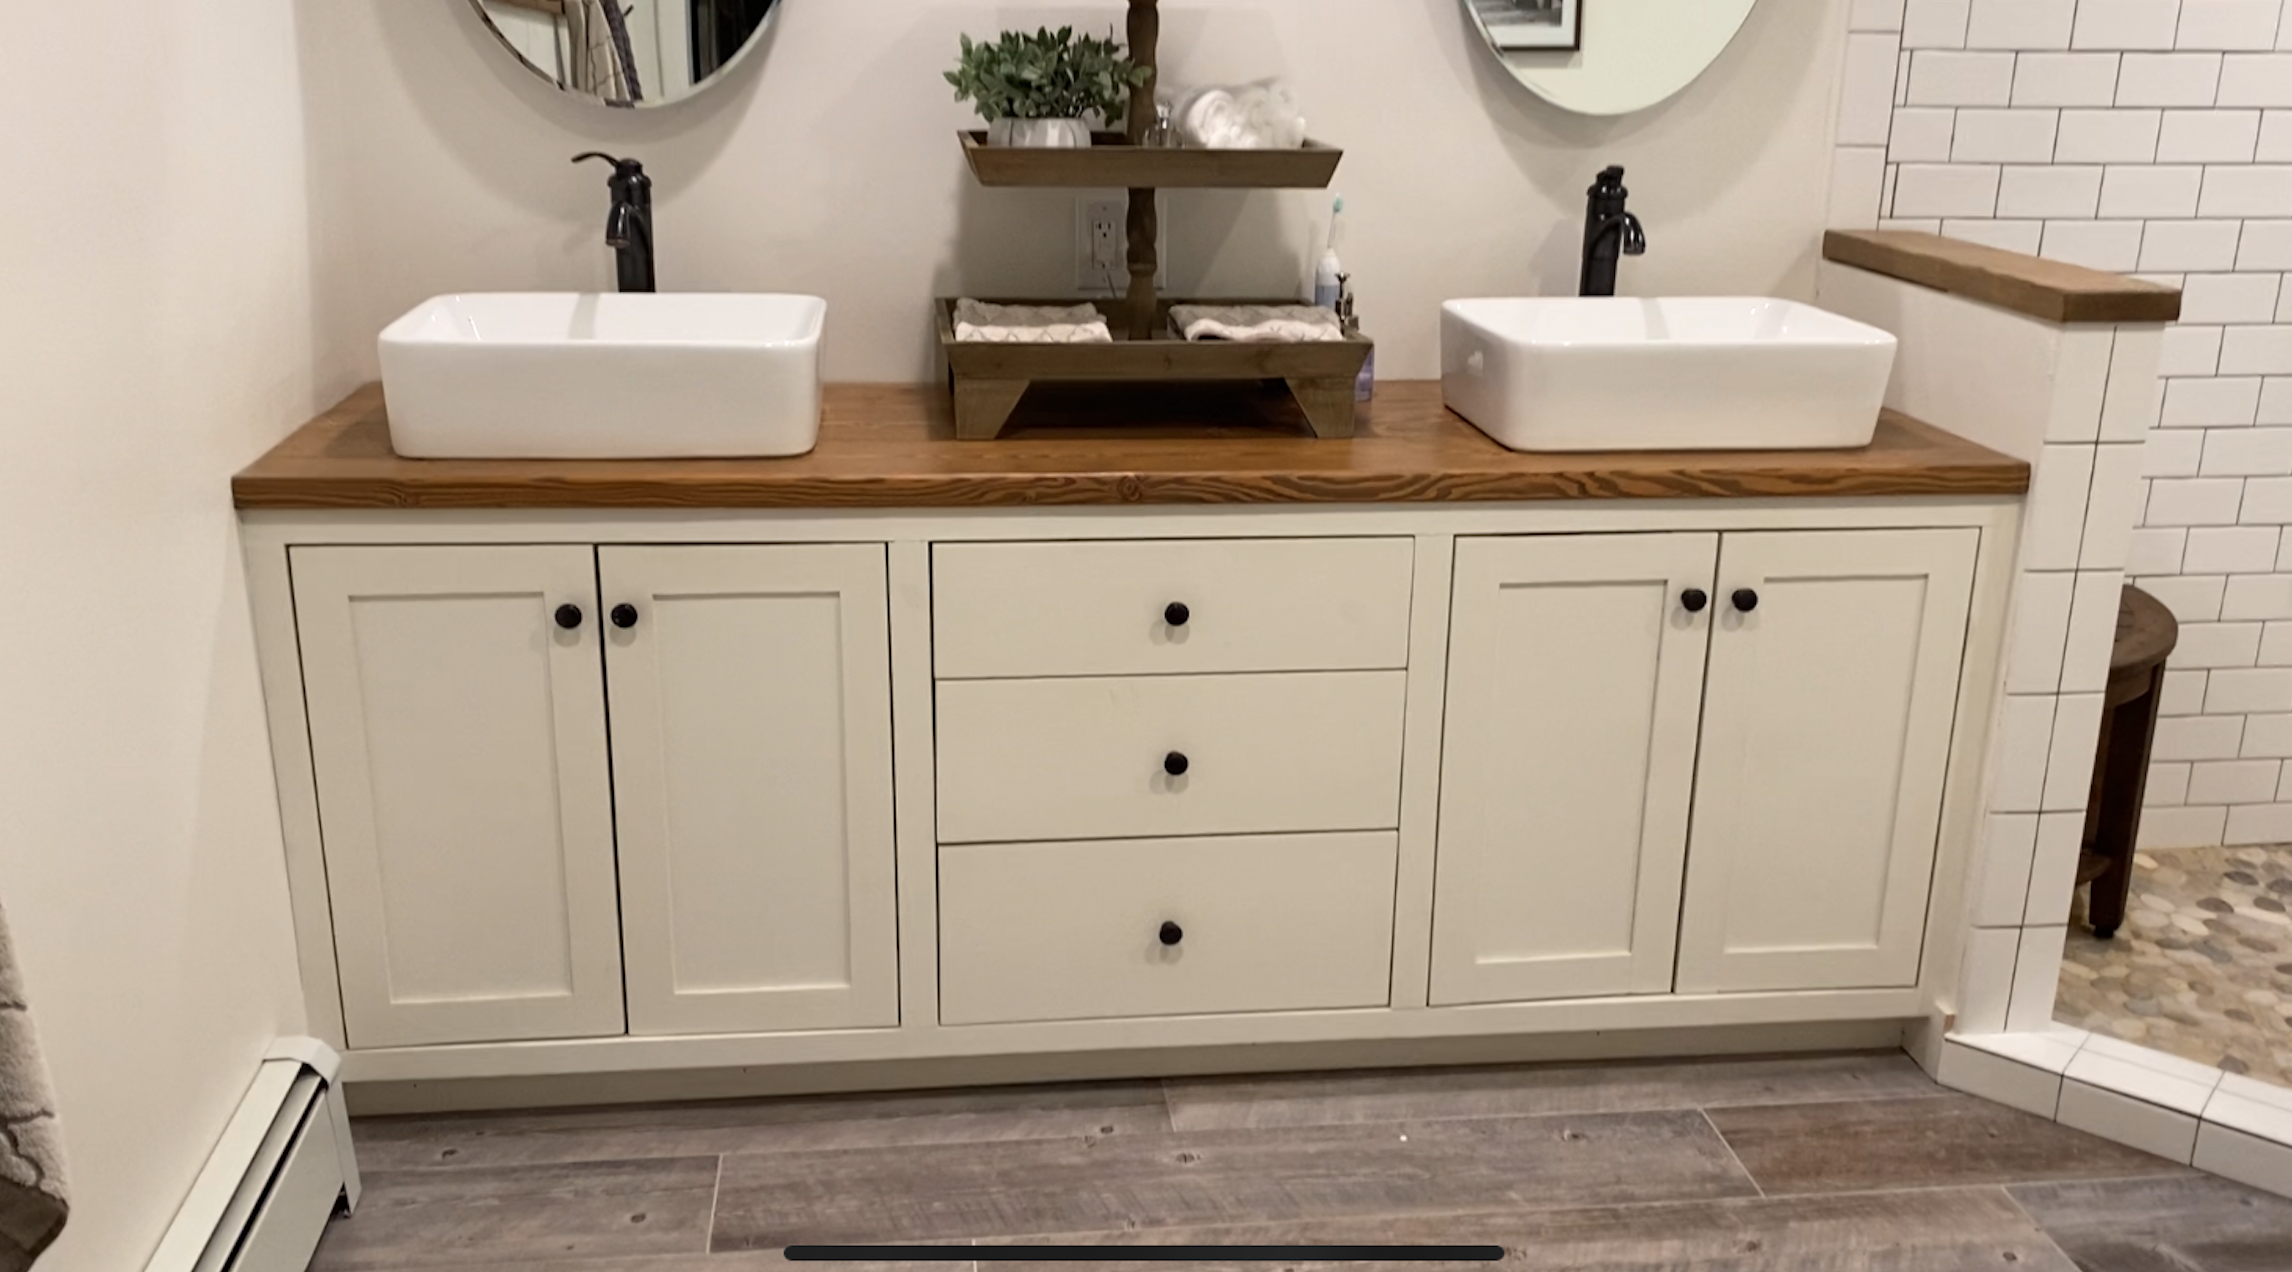
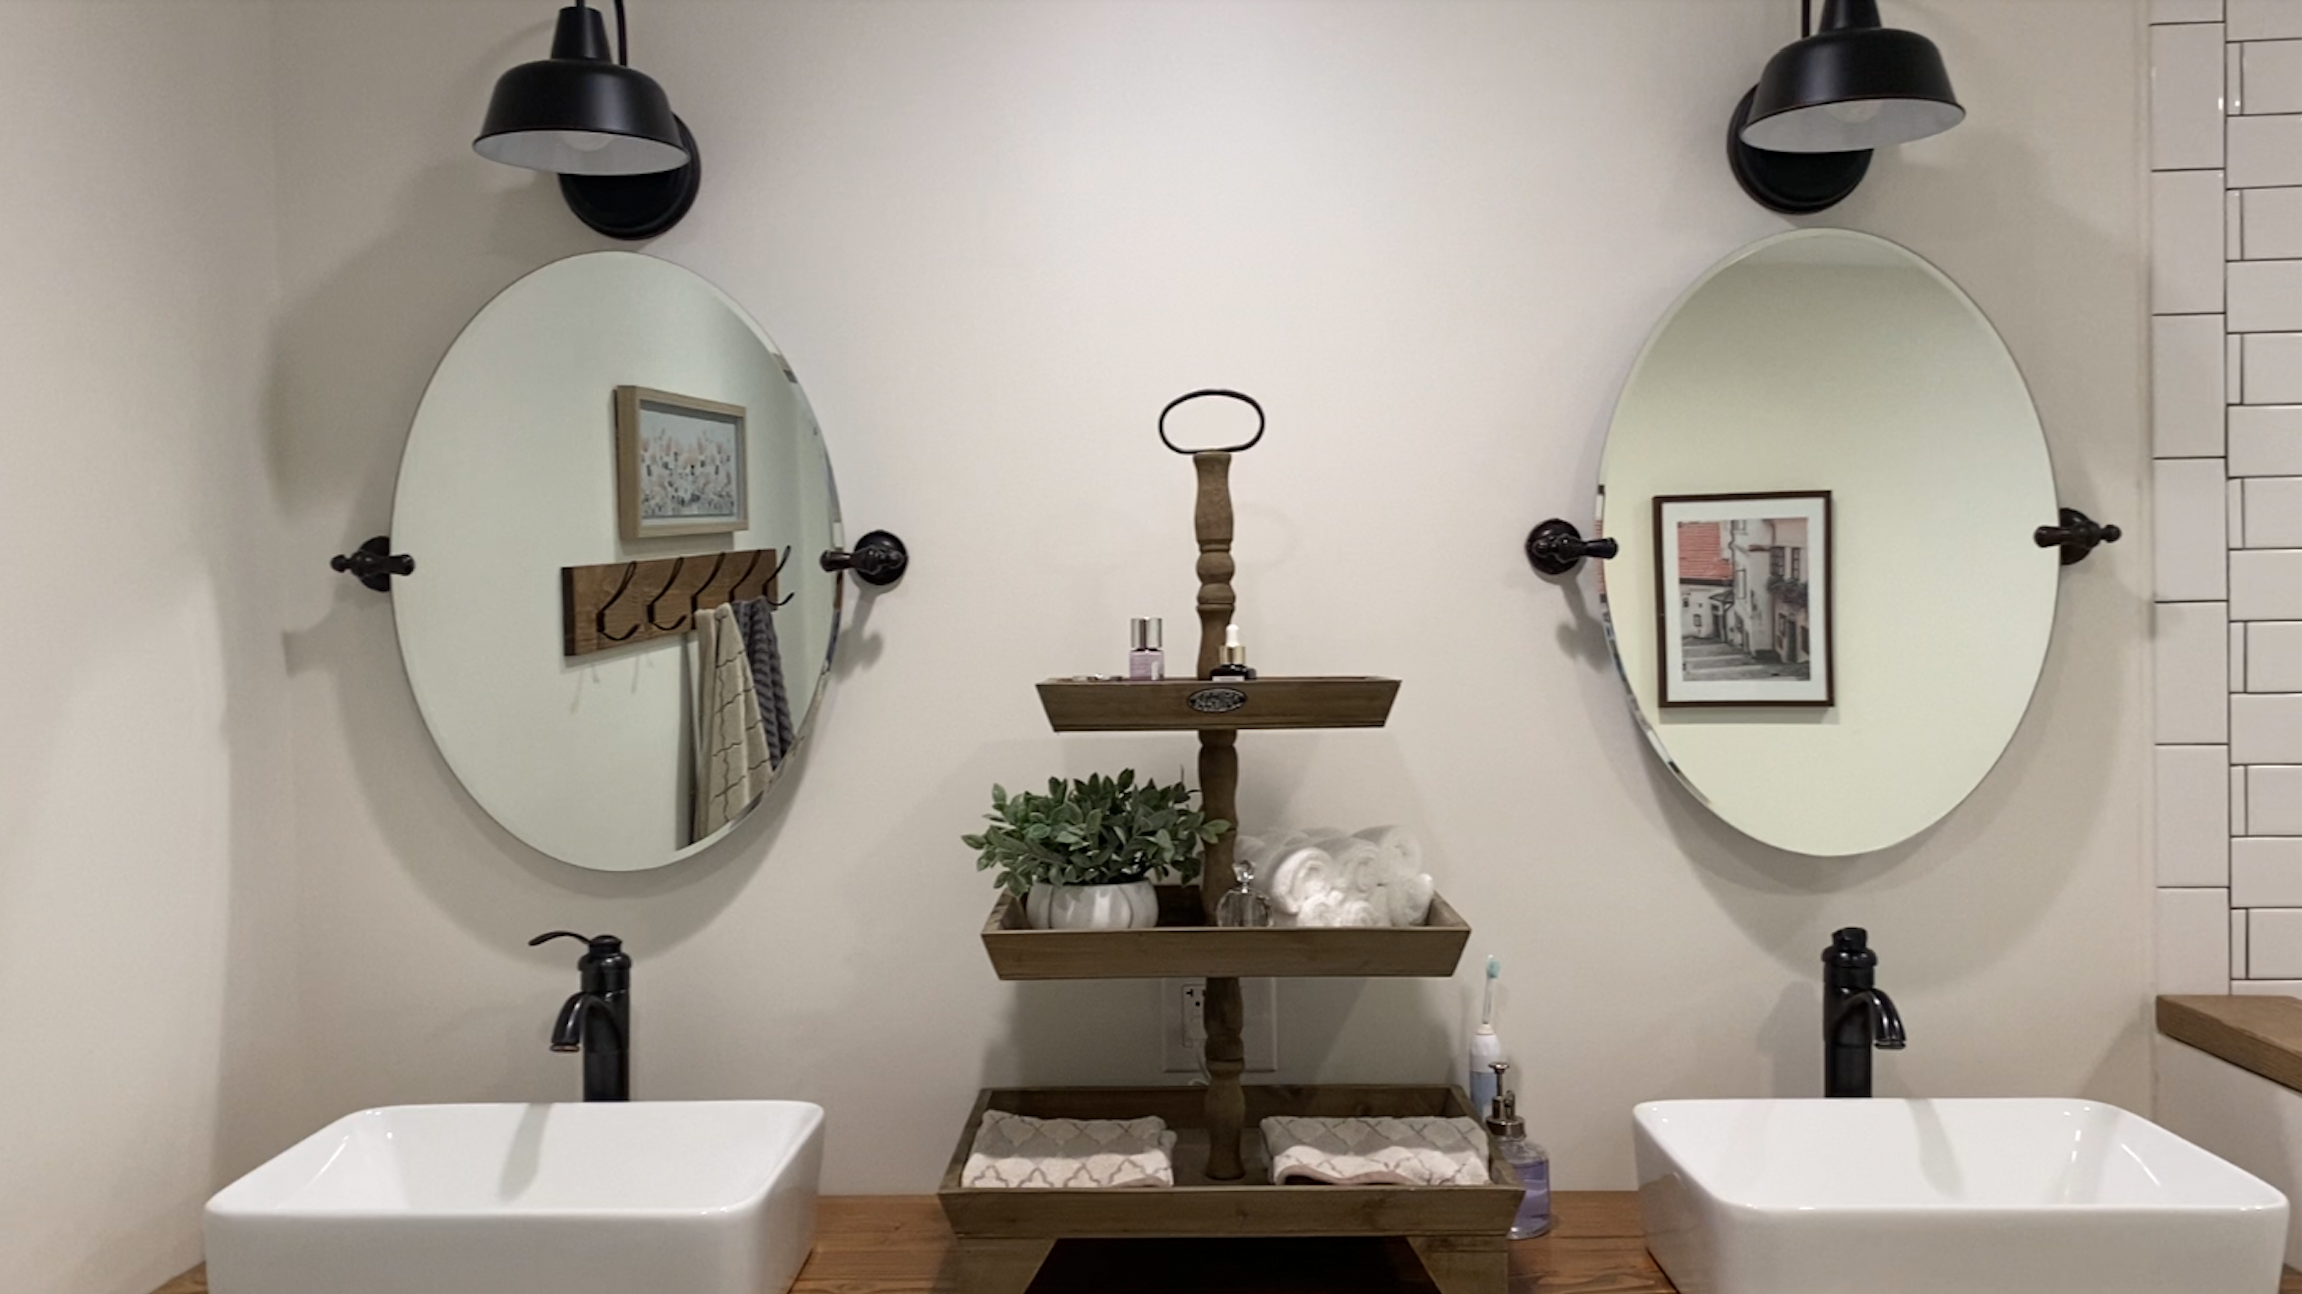
If you’re new here my name is Christina. I’m a Korean Adoptee living in rural New England with my husband and two young children. We are passionate about DIY and home renovation. Our newest project is converting an old unused shed on our property into an off grid tiny home.

This might sound out there for some so I wanted to share a few of our reasons why we are doing this.

  1. I’m obsessed with tiny homes and have been for the past 5+ years since I first heard about them. This would satisfy my curiosity with them.
  2. Our kids will enjoy having family sleepovers in the tiny house and when they are older even friend sleepovers.
  3. This tiny house would serve as an off grid back up to our main home should we ever need one.
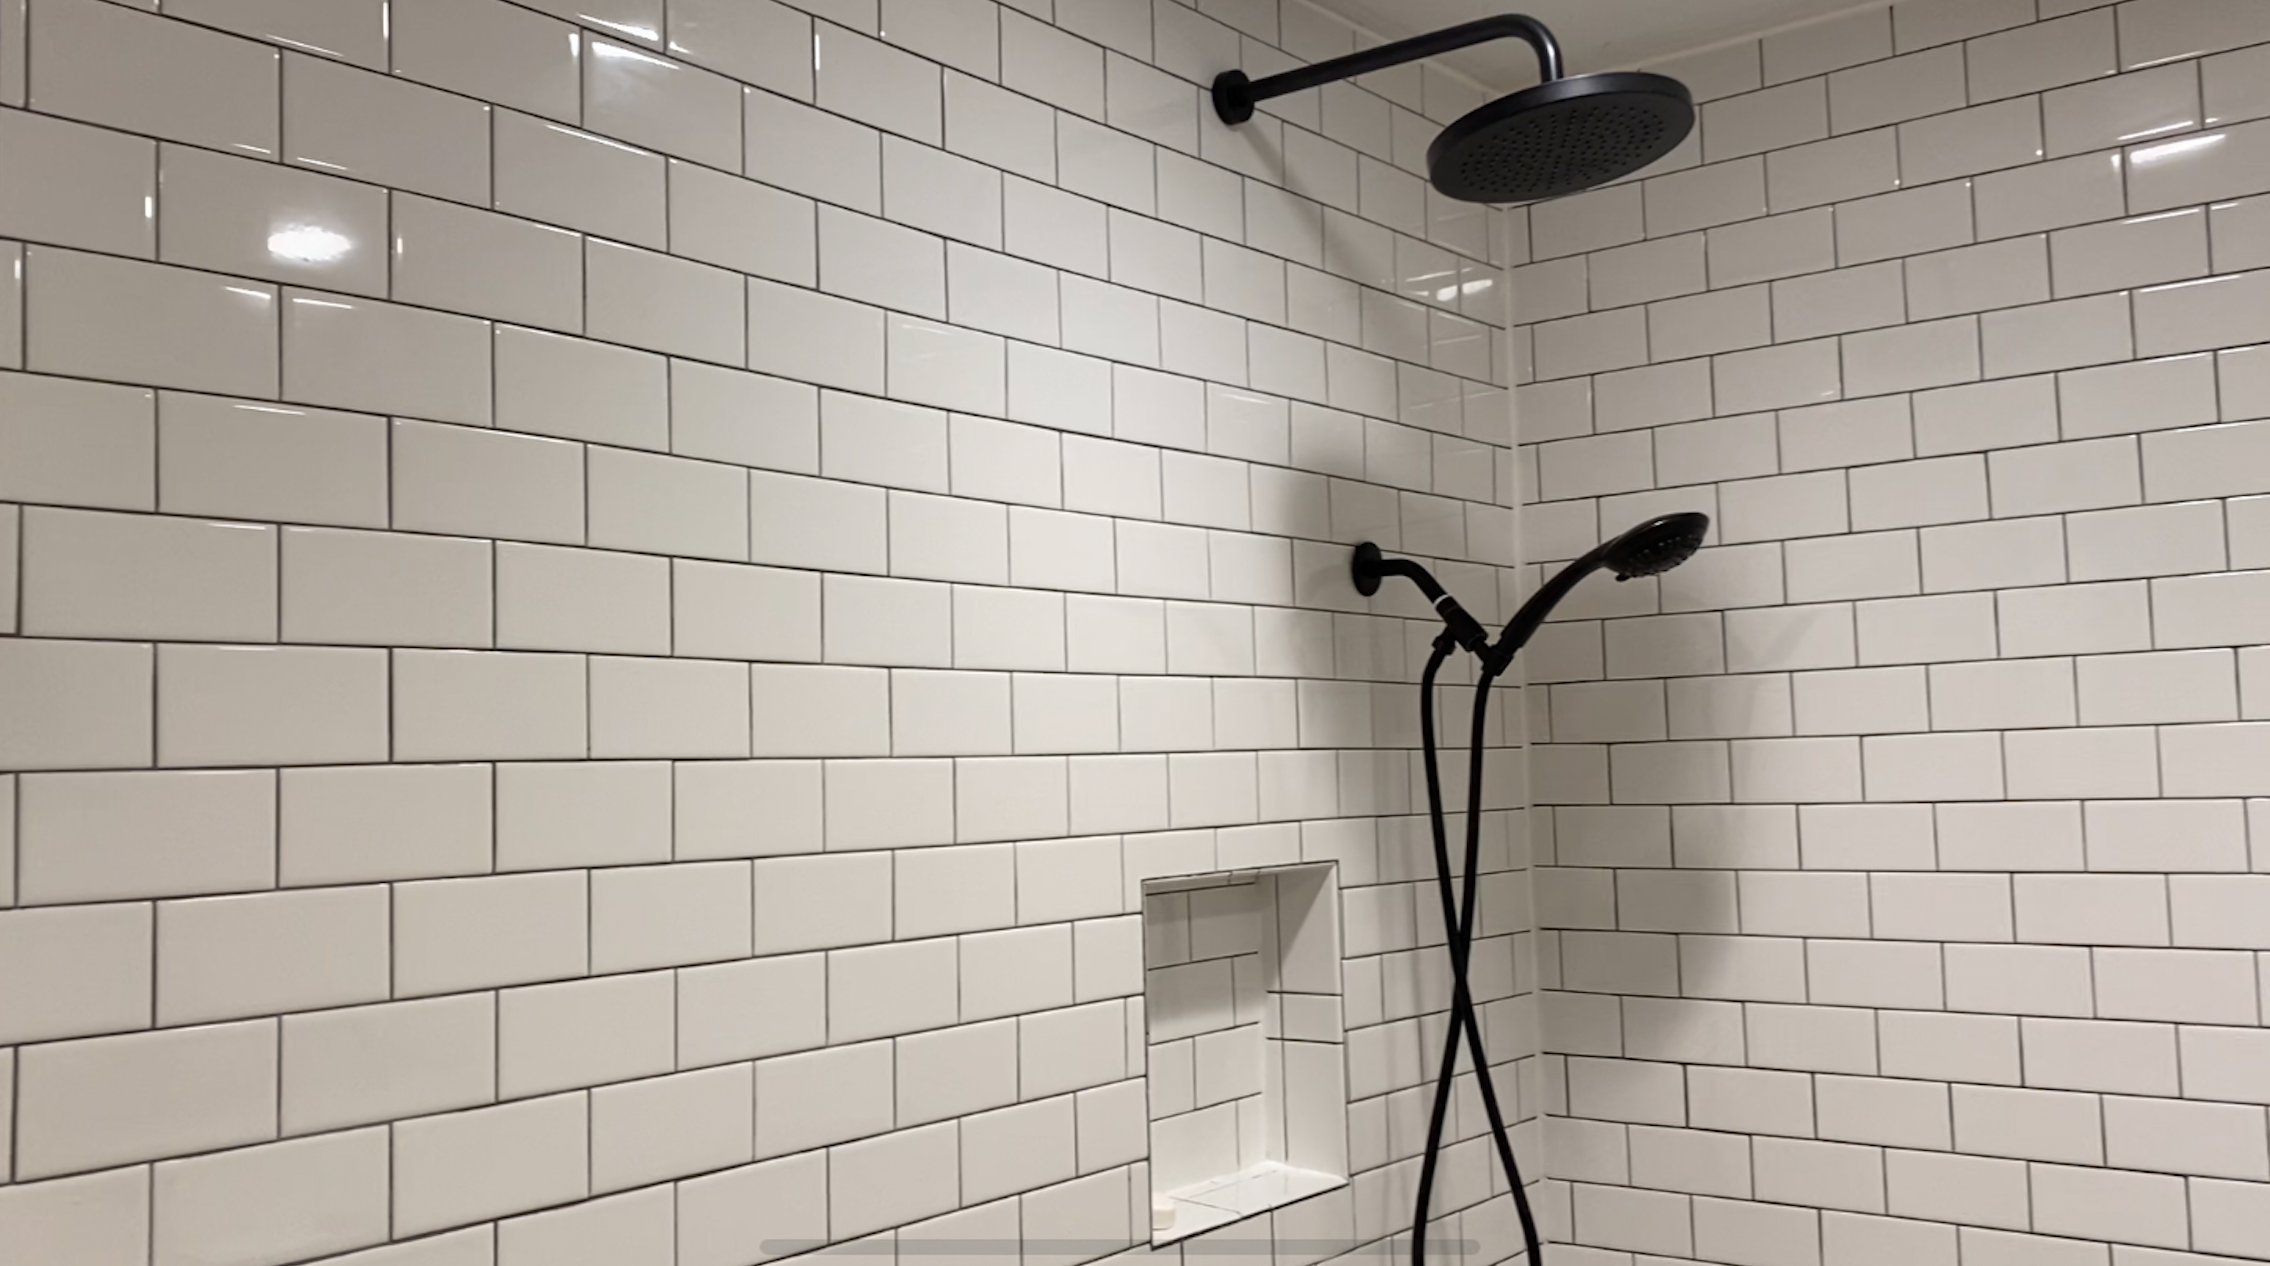
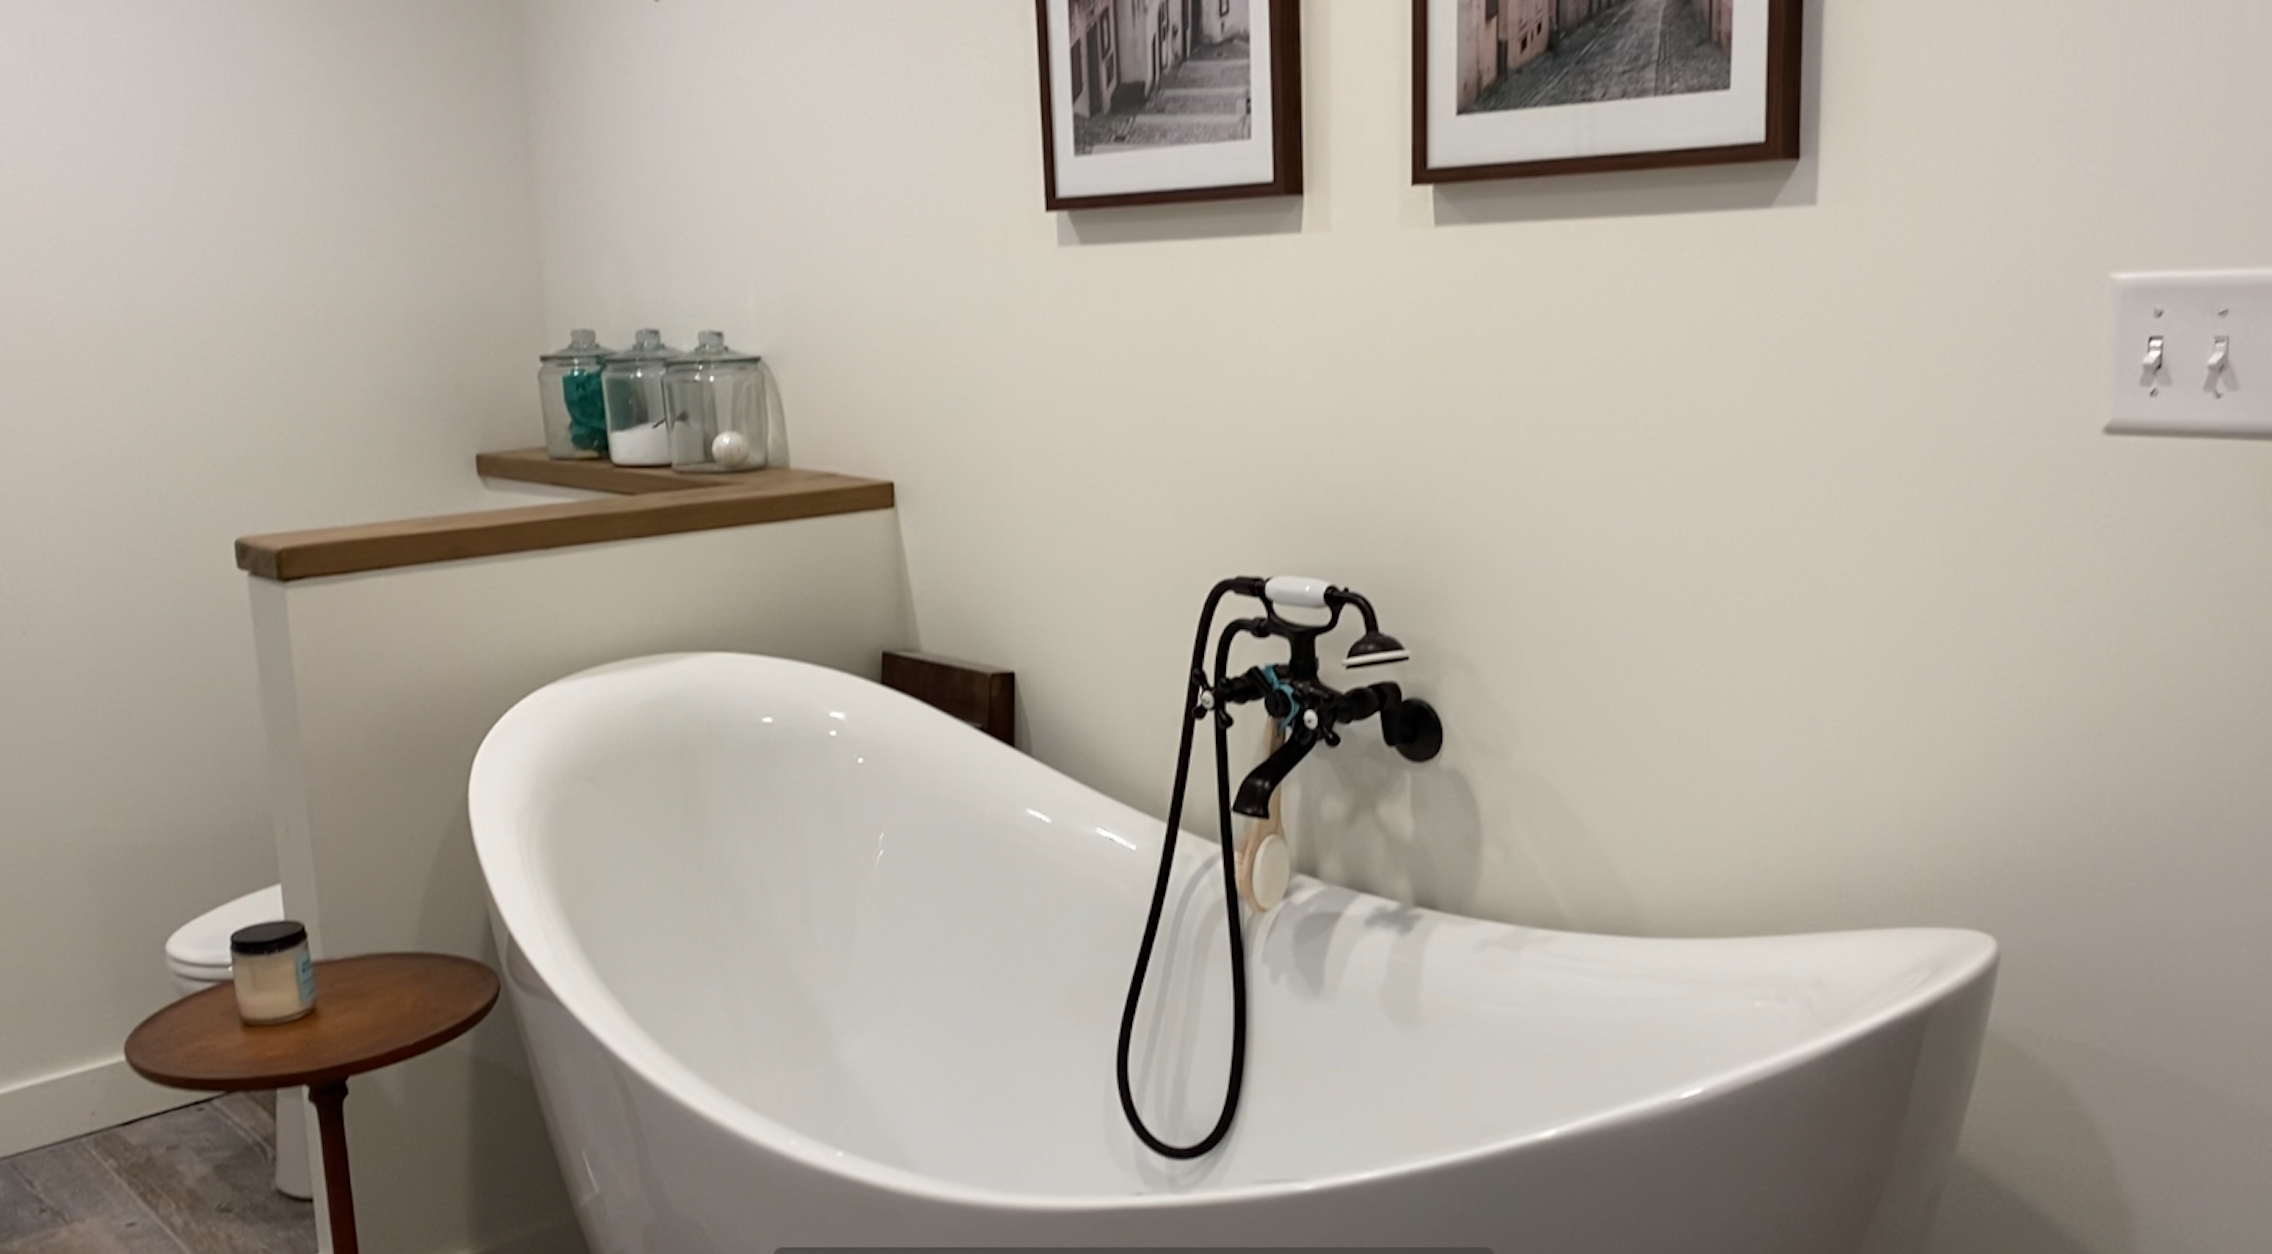
  4. It will give us a taste of what designing and building a functional living space is like. It will also give us an understanding of the systems required to be off grid.
  5. It’ll serve as a guest house when more space is needed.
  6. The tiny house is a short or longer term housing option for friends and/or family members in the future.
  7. This tiny house is essentially a prototype for future tiny home endeavors we have planned on separate lots of land and properties.
  8. Creating and building this tiny house will give my husband and me a great creative outlet.
  9. This shed was totally unused and just sitting there so we figure let’s make it into something useable and beautiful!
  10. And, last but not least. The number one reason for doing this is to explore tiny living in a hands on way. We pack our essentials and stay however long we want.

In Conclusion

Making this tiny house is a fun and creative project that our family can enjoy for years to come. Thanks for reading!

-Christina

Filed Under: Tiny house Tagged With: Korean Adoptee, off grid, shed, tiny home, tiny house, tiny living

Dramatic Farmhouse Master Bathroom Gut Renovation for under $5500

September 14, 2021 by Christina

Before and After

We bought this home knowing the bathrooms needed total makeovers. After a few ballpark quotes we knew it’d be worth our while to do the work ourselves whenever possible. Luckily, my husband has some experience with construction, plumbing and electrical and I love designing and re-creating our spaces.

Original master bathroom
Small vanity and toilet already removed in this picture but it gives you an idea of the size of the original footprint
Another view of the before
Original bathroom in early stages of demolition

The wall between original bathroom and laundry room was removed exposing the first of many barriers in need of relocation (toilet and small vanity were already removed).

The master bathroom was originally down a hallway behind our master bedroom (picture below). It was sandwiched between a small bedroom (straight ahead in the picture) and the original laundry room (doorway left). Not seen in this photo is immediately left there was the 1st door which is an outside access. This house was built in the early 1800s and has been expanded over the years. In typical old home fashion, the rooms were small, broken up and generally lacking a feeling of flow.

Original hallway behind master bedroom seen above right

This bathroom was the 3rd of four doors in this hallway. The plan was to sacrifice the small bedroom at the end of the hallway (blog post on that coming up) and make it into a large master closet/dressing room that would connect the master bedroom with the new master bathroom.

View from within the new framed out bathroom. Visible is the new staircase opening and new laundry room on opposite side

The new master bathroom footprint would include the original small bathroom, the laundry room and the hallway connecting the two rooms. We also moved the laundry room to the first room and added a new basement access staircase on this side of the house.

The demolition for this project was extensive including four rooms and a hallway. We relocated the washer/dryer as well as the utility sink from the original laundry area (seen above).

This project was much bigger than just a bathroom renovation since it included removing all of the walls separating these rooms as well as adding a staircase to the basement.

Original hallway showing small bathroom and small bedroom (behind open door)

Original hallway

New configuration showing shower half wall and toilet half walls (below)

Progress on custom shower.

Custom shower progress

Soaking tub (not installed)

Flooring going in

New tile flooring

Vanity area (before base installed)

Vanity base

Vanity area with base installed.

Vanity base installed

This bathroom renovation like all DIY projects was a labor of love. I was pregnant with my second child at the time and dreamt of long soaks in my new tub. Like all of our projects I design the space and my husband brings it to life.

The biggest cost saver for this project was obviously the labor as we did it all ourselves. I was 8 months pregnant when we were finishing up so I was of limited assistance toward the end. Other cost savers was making things you would typically purchase like the vanity and the countertops.

Our vanity consisted of a base and framed out shell (pic earlier in this post) and homemade countertops. The cost of wood was about $100 (back when wood was affordable pre-pandemic 2018). My husband made the cabinet doors and the drawer fronts. It’s a simple design but more than meets our needs and looks clean.

Other ways we reduced our overall cost included: re-using the existing toilet, choosing a reasonably priced soaking tub we found on Amazon and modifying items ourselves. For example, the drawer pulls were twice as expensive in the oil rubbed bronze finish compared to a chrome finish. We purchased the chrome pulls and spray painted them the color of finish we wanted and they have worked out perfectly. This is a minor expenditure but each area of savings clearly add up.

Here is the rough cost breakdown and finished pictures below.

NOTE: THESE COSTS WERE BEFORE THE PANDEMIC. THE PROJECT WAS COMPLETED IN 2018. THE COST OF WOOD AND BUILDING SUPPLIES ARE CONSIDERABLY MORE CURRENTLY IN 2021.

After

Soaking tub
DIY towel rack

We are thrilled with the end product. It is a major upgrade from the original bathroom that was there and a very nice space by any bathroom standards.

Thanks for stopping by. More DIY projects to come!

Filed Under: Farmhouse Tagged With: budget, DIY, farmhouse, master bathroom, renovation

  • « Go to Previous Page
  • Page 1
  • Interim pages omitted …
  • Page 3
  • Page 4
  • Page 5
  • Page 6
  • Page 7
  • Interim pages omitted …
  • Page 26
  • Go to Next Page »

Primary Sidebar

  • Facebook
  • Instagram
  • Pinterest
  • YouTube

Hi! I’m Christina,

I am a Korean Adoptee with New England Roots! Living and Loving New England Country Life while raising our babies and restoring our 1820s Farmhouse.  Homesteading and Farmhouse Inspiration. Coffee and Tea Lover. Book Addict.

Grab a cup of tea and stay a while!

Recent Posts

  • Korean Adoptee: I lost my mom to Alzheimer’s Disease December 8, 2023
  • Can a baby monitor prevent SIDS? Reviewing the Miku Pro Baby Monitor March 16, 2023
  • Is this the best baby product ever? March 9, 2023

Archives

  • December 2023
  • March 2023
  • February 2023
  • September 2021
  • February 2021
  • January 2021
  • October 2020
  • September 2020
  • May 2014
  • April 2014
  • March 2014

Copyright © 2025 My New England Seoul on the Foodie Pro Theme